Import study data from CSV
Importing study data into your review requires the use of study centric data management.
Prepare your files for import
The recommended approach for importing data into RevMan is to export study data files directly from Covidence. Alternatively, you can use the data extraction templates that are available for download to structure your data properly. Regardless of which option is chosen, it may be necessary to refine the data within the CSV files before proceeding with the import of data into RevMan.
Read further instructions on how to prepare your files for import:
Using data extraction templates (only available for the Included studies - for all other studies, see how you can enter study data manually and edit study information)
Ensure that values are comma separated when saving a CSV file.
A Comma Separated Values (CSV) file is a plain text file that stores data by delimiting data entries with commas, in an Excel sheet. When you save a CSV file, Excel may use your computer country settings to determine how values are separated, resulting in delimiters other than the comma being used to separate values. If this is the case, you can get help from this article for PC and this article for MAC to ensure your values are separated by commas when you save as CSV.
Import study data
Upload the study data CSV files
The import allows you to:
- Create new studies with their data
- Update existing studies: if you import new data, it overrides the previous version in RevMan
- Import one or more types of data at the same time
If you want to import study references, you need to do that separately on the included studies screen. See Import references for studies.
Check once again all the CSV files (Study information, Study arms, Study results – and Risk of bias, if available) to ensure that:
- The data matches with the information in RevMan
- Values are separated by commas and files have been saved as CSV UTF-8
- Example data have been removed, if you used data extraction templates
Risk of bias
- If you do not need the Risk of bias CSV file, you can omit it, but you must upload the other 3 CSV files.
- If you are importing Rob2 assessments, you must enable the 'Risk of bias 2' advanced feature first.
- The Risk of bias 'Choose file' button is disabled for Rob2 reviews until the ‘Study results’ CSV file has been uploaded first.
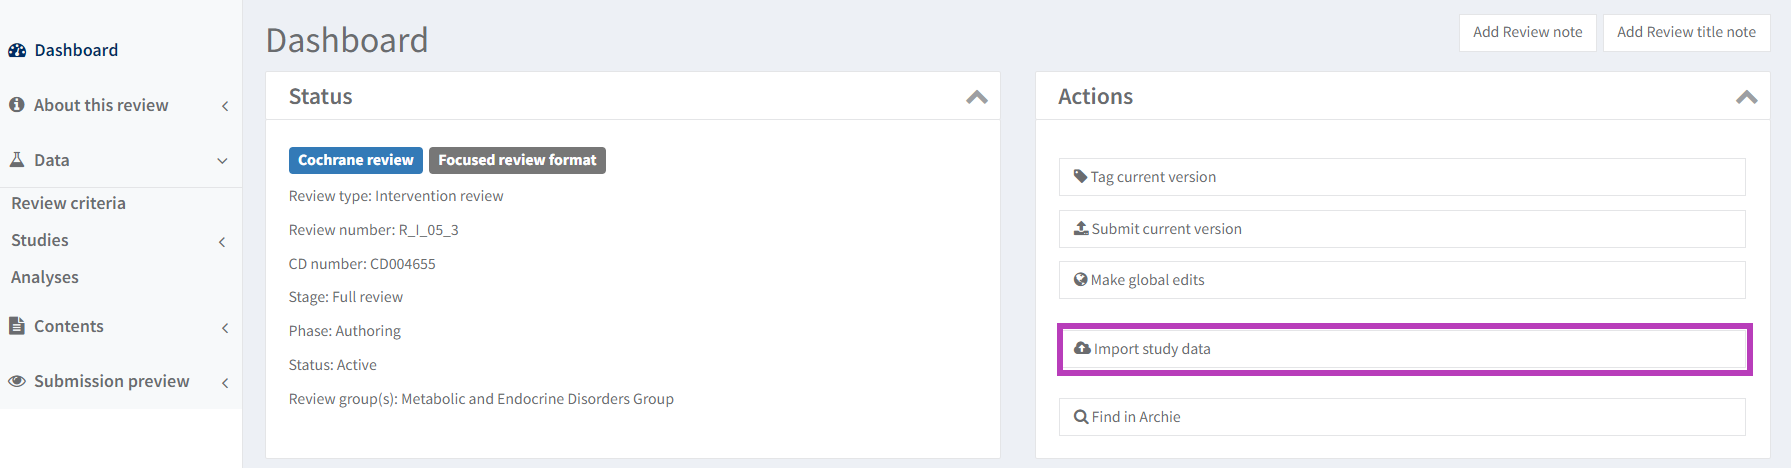
To upload the 3 or 4 CSVs to RevMan, navigate to your review in RevMan. Go to Dashboard > Actions panel > Select ‘Import study data’.
All new studies in the CSV files will be created as included studies in RevMan with characteristics, results and risk of bias data. Studies which are already in RevMan will have their characteristics, results and risk of bias data updated. If results have been removed in the CSVs, they won’t be removed if they already exist in RevMan.
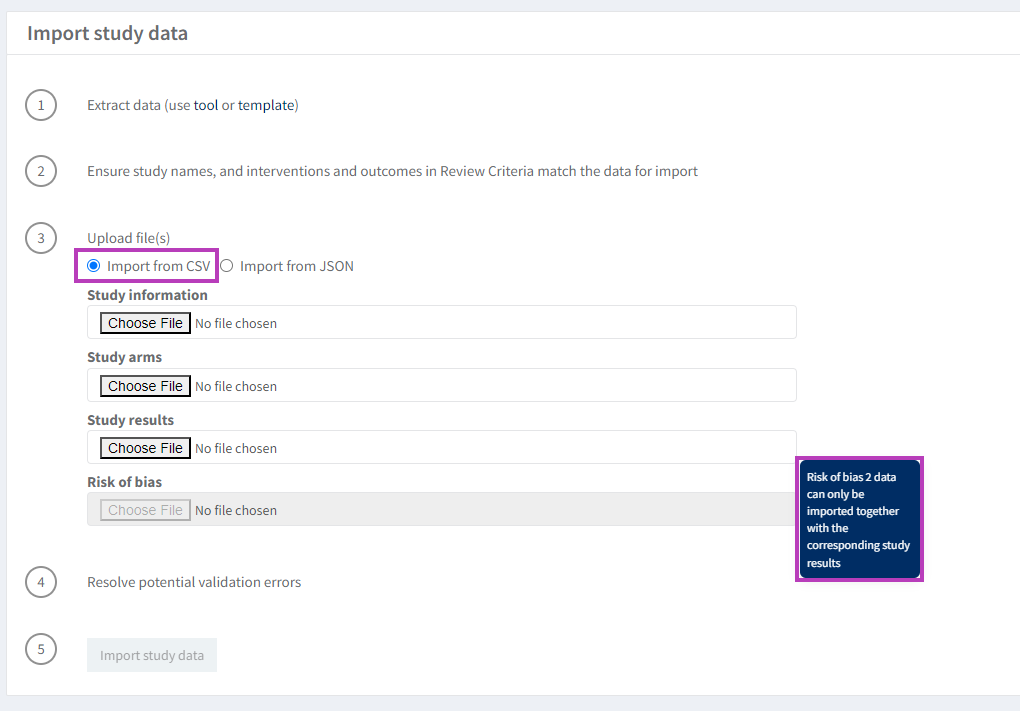
On the Import study data page, select Import from CSV and upload files for each type of data you wish to import. You can import one or more types of data at the same time.
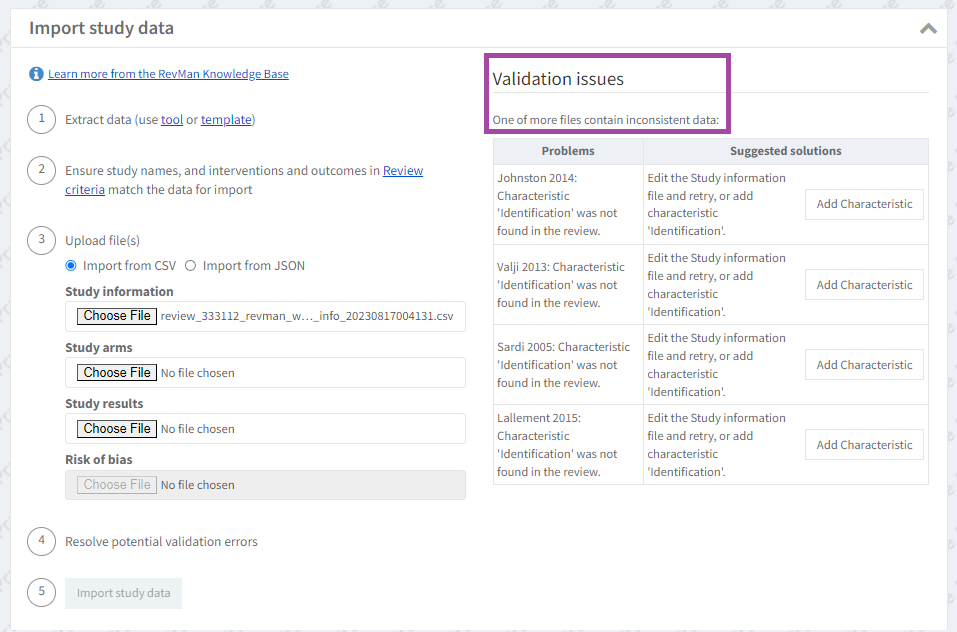
RevMan will notify you if the format of the data is incorrect or inconsistent between files.
If you get validation issues, check your CSV files again to ensure that data is correct and there aren’t additional spaces, differences in upper- and lower-case characters or other formatting differences between them and RevMan.
All validation issues must be resolved in order to complete the import. See Common errors with data import files.
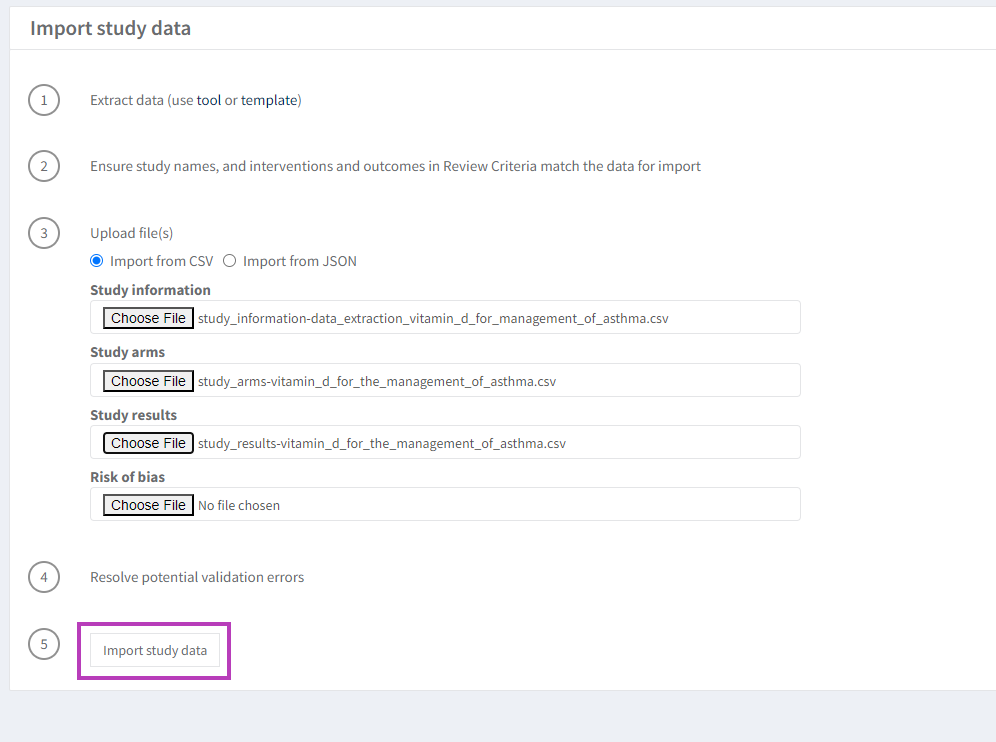
When you have solved all import validation issues, if any, click Import study data and confirm by clicking OK, continue.
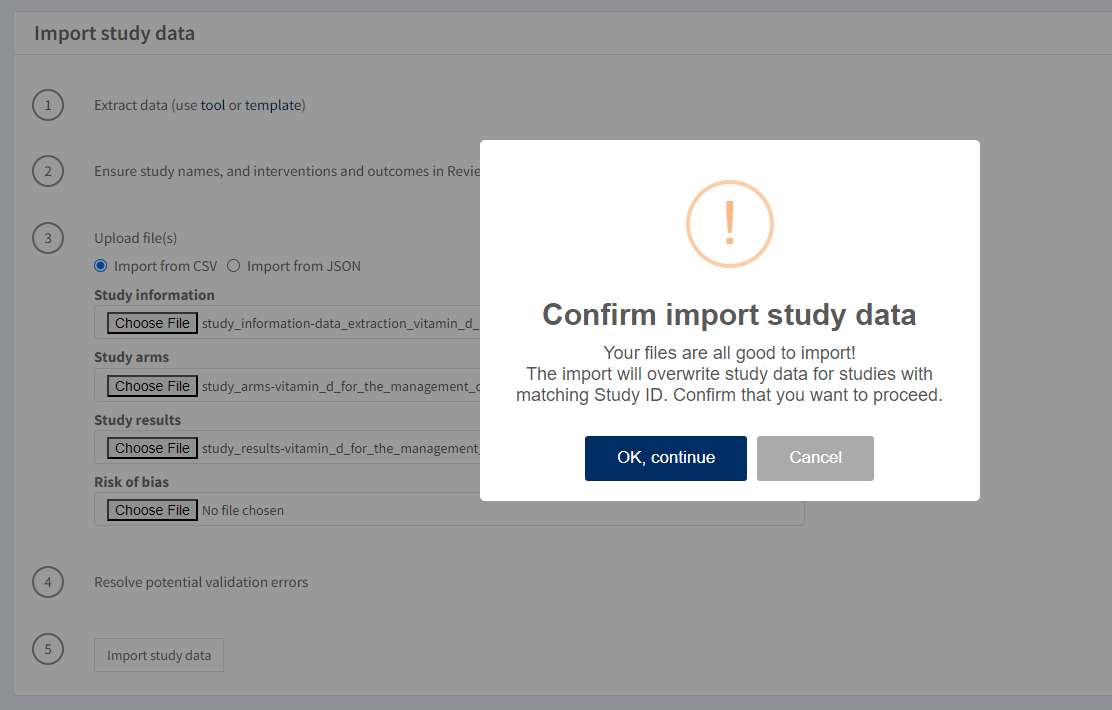
Once the import is complete, a message at the top of the screen stating ‘Import complete’ is displayed. RevMan reports on which studies were created and/or updated. Check that the number of studies that have been imported into RevMan is the same that you expected to find.
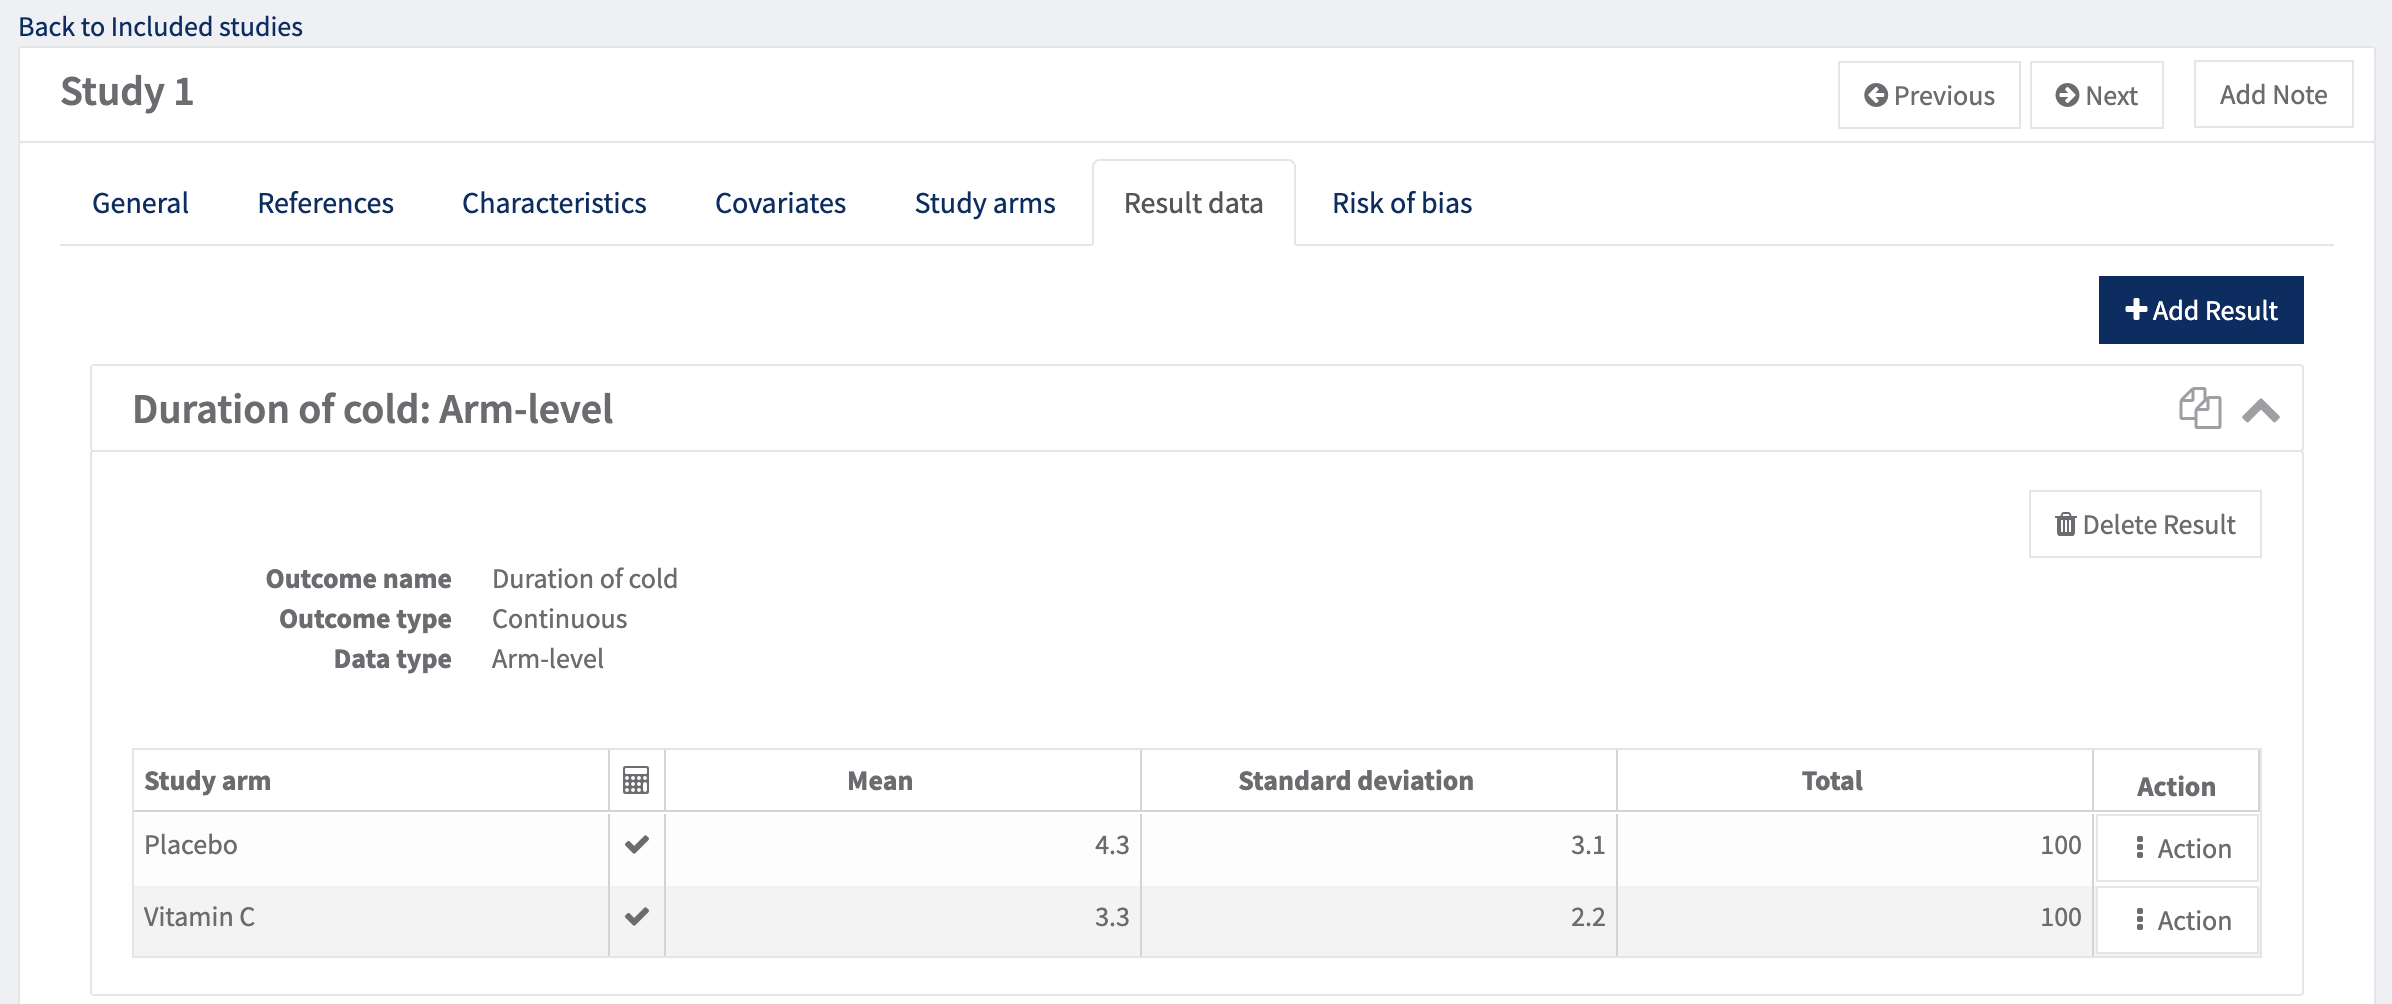
After you have imported your results, they will be added to Included studies in the ‘Result data’ tab. You can then create analyses that pull the data from the included studies.
For additional help, please check the list of common errors with data import files. If you have trouble resolving validation issues and errors, please contact the Cochrane Support Team.
Common errors with data import files
Error | Tips |
Import error as the following in the files do not match exactly with what’s setup in RevMan or used across the different import files:
| When you are preparing your data extraction sheet:
|
Import error as the import files are in the incorrect format. | Before importing, you will need to remove the yellow explainer row and save each data sheet separately as CSV UTF-8. Note that you should only have your own data, so make sure you have also removed the example data from the file. |
Import error as I import files because of how values are separated in the files. | Excel may use the country setting on your computer to inform how to separate values when saving a CSV file (for example, comma separated values can be separated by other delimiters). If this is the case, you can get help from this article for PC and from this article for Mac to make sure your values are separated by commas when you save as CSV. Open the CSV file in Notepad to verify that the data is correctly separated by a comma. |
Import error when I import my risk of bias 2 data. | Risk of bias 2 data cannot be uploaded without importing study data first. |
When I imported my data I lost the formatting, such as bold and italics. | At the moment you will not be able to import formatting such as bold and italics for any of the data. |
No errors are found, but import fails "We're having trouble saving your changes > Report problem > Unicode:xxx". | Your CSV file may contain special characters e.g. ()#/<> that RevMan cannot process. Open the CSV file in Notepad to verify if that's the case. |