PRISMA flow diagrams
1. Add a PRISMA flow diagram
To add a PRISMA flow diagram, go to the 'Figures' section in the left-hand navigation menu, then click on 'Add Figure'. Select 'Flow diagram' from the 'Figure type' drop down menu. See Add a figure.
2. Edit the content
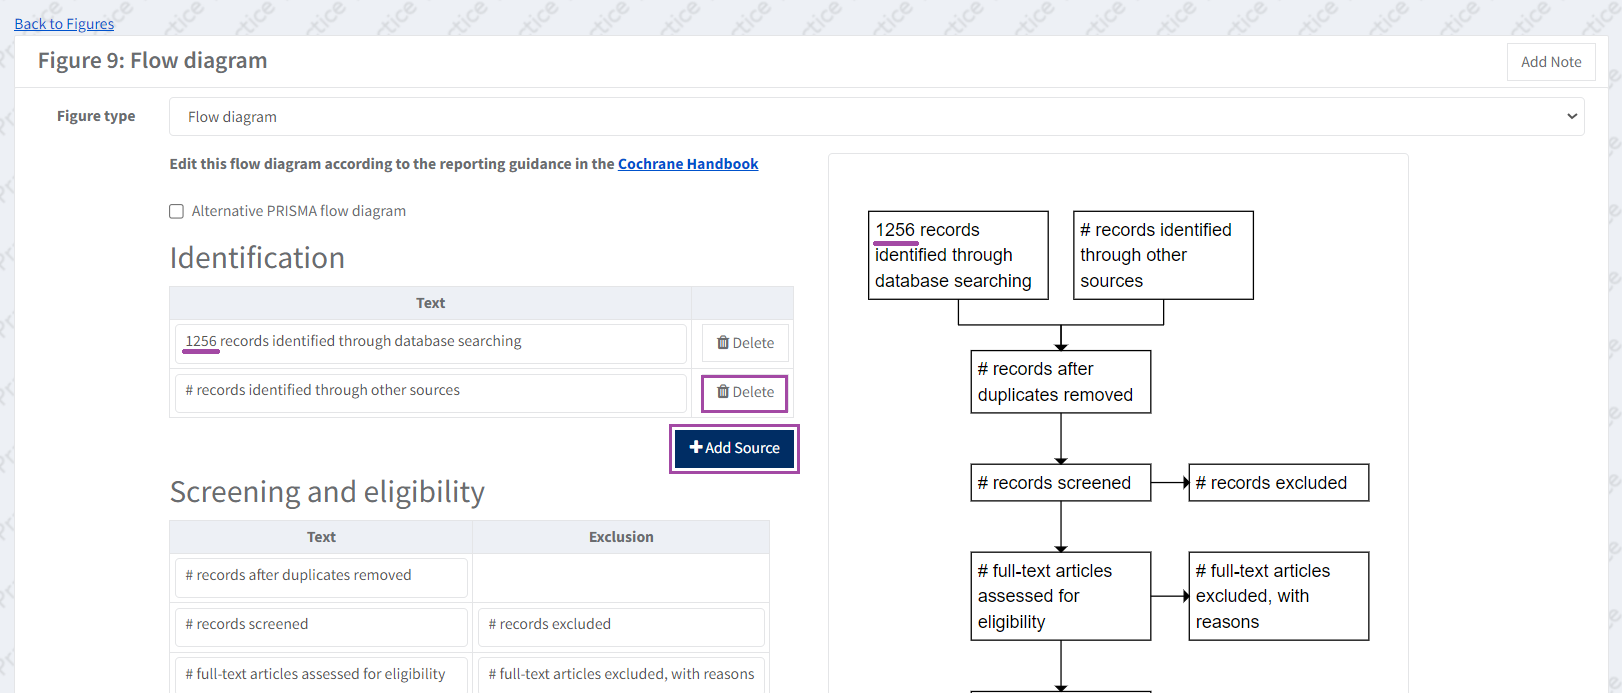
Add the data to the default text and it will show in the view to the right. You can add or delete sources to account for different types of sources by clicking 'Add source'. You can delete a source by clicking 'Delete' in its related row.
Note that you can only edit the flow diagram according to the reporting guidance in the Cochrane Handbook.
3. Add a caption
As with all figures in RevMan, you can add a caption to your PRISMA flow diagram. To do so, scroll down to the bottom of the page where you are editing the PRISMA flow diagram, and use the dedicated 'Caption' field.
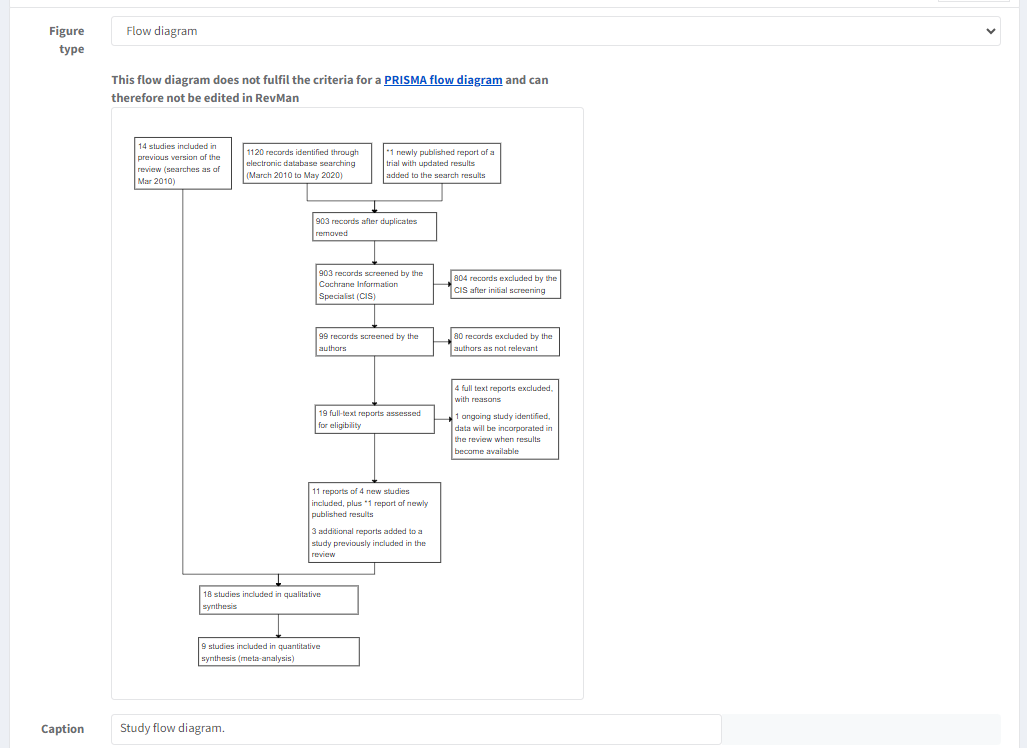
4. Working with the flow diagrams that don’t follow the PRISMA guidelines
If a flow diagram is not following the PRISMA guidelines, you can open it to view, but you will not be able to edit it in RevMan.
If you want to make any edits, you will have to recreate the flow chart according to the PRISMA guidelines.
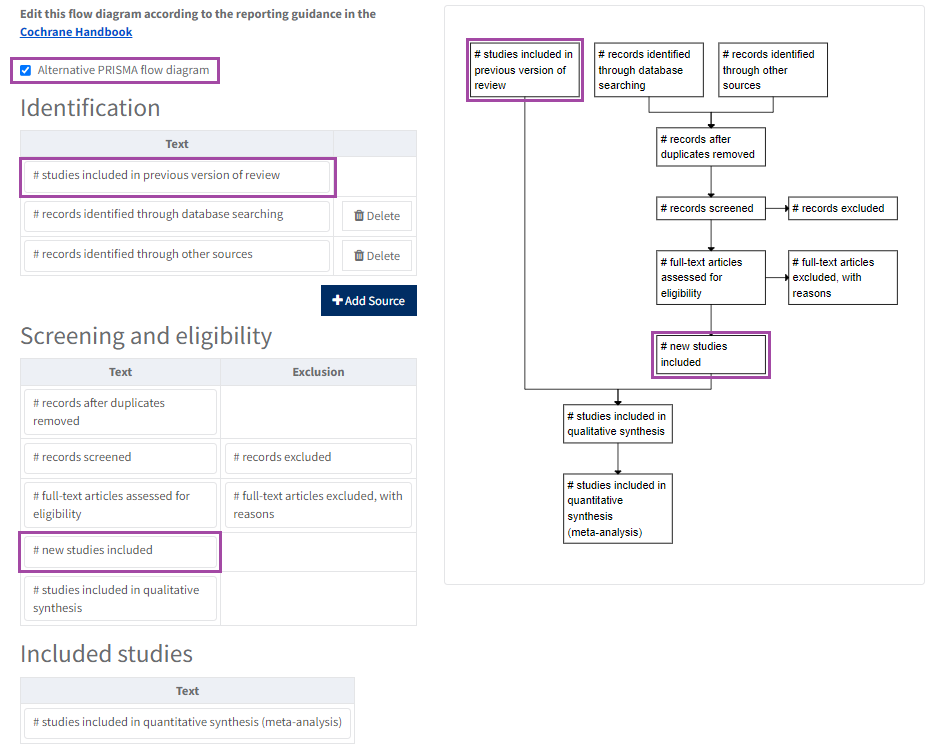
5. Create a PRISMA flow diagram for a review update
If you are updating the review, it may happen that you know only the final number of included studies in the previous version.
In that case, you can check the ‘Alternative PRISMA flow diagram’ box and the flow diagram will change to include an additional identification node and a box in the diagram (# studies included in previous version of review).
You can then type in the numbers from your updated search and join the number of studies included in previous version with the number of studies identified as eligible in the review update (#new studies included).
You can edit the content as in the normal PRISMA flow diagram (see point 2 above). You can also switch back to the normal PRISMA flow diagram by unchecking the box.
Note that the alternative PRISMA diagram should be used only for review updates of previously published reviews where the full search history is not available.